Scanning Instructions
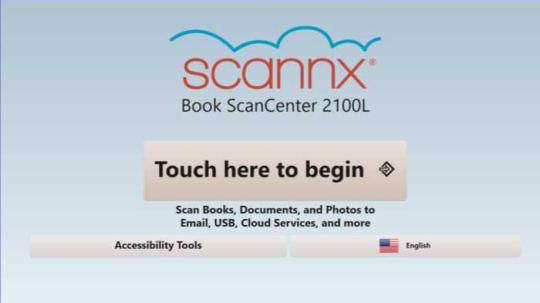
- Tap on the screen or click the mouse to wake it up.
Click the Touch here to begin.
Select a destination
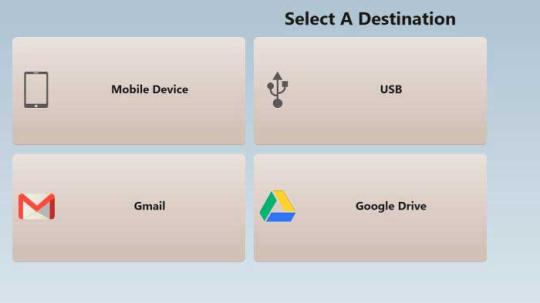
- Google Drive (will require authentication)
- Gmail or SSU email address(es)
- USB drive
- Mobile Device
Select Scan Settings
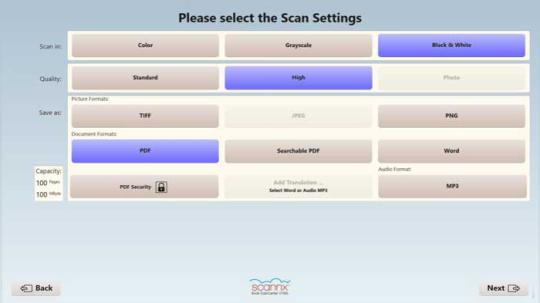
- Scan options, Color, Quality, Save File type
- Click Next
- Place the item in the scanning bed and click Scan.
- Crop, zoom or edit the scan as needed.
- Click Scan to scan other pages. Click Delete to remove the scan.
- Click on Deliver when done with scanning.
- Depending on selected destination:
Google Drive
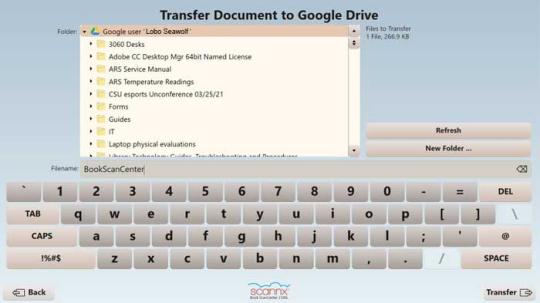
- Select destination on Google Drive
- Under Filename name the file
- Click Transfer
Gmail or SSU email address(es)
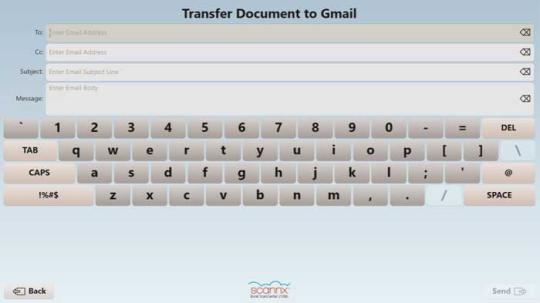
- Enter Address(es), Subject, Message
- Click Send
- USB
- Select destination on USB
- Under Filename name the file
- Click Transfer and remove USB Drive
Mobile Device
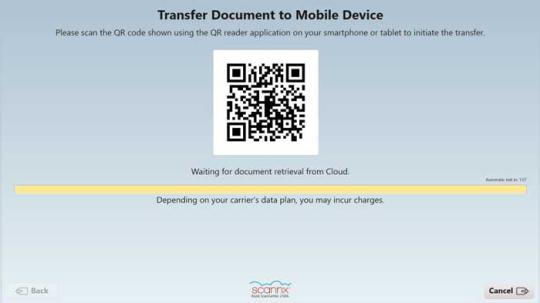
- Scan QR code using QR code application on smartphone
- QR code will remain on screen for 2 minutes. Scanned Content is removed after 1 day
- Check the scanner bed for leftover items and select exit to end session.
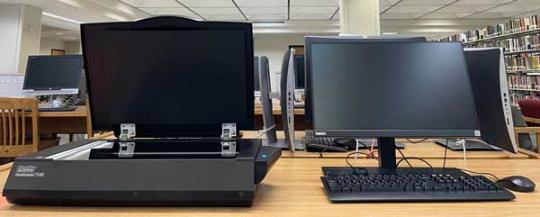
Scanner Locations
- 1st Floor North (near Print Station)
- 2nd Floor (in Lobo's Lounge across from the Information/Checkout Desk)
- 2nd Floor South (near Print Station)
- 3rd Floor North (near Stacks)